Under the Restore tab you will find all the folders/files from previous backups that you can restore either to the original or alternate location.
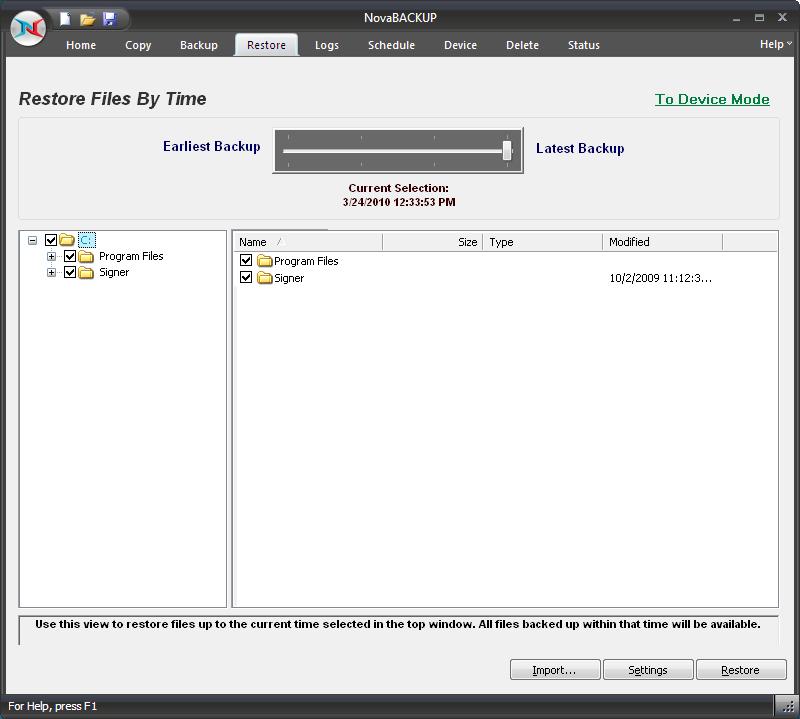
Restore Files By Time
This 'TimeSlider' view uses a patent pending technology to provide a single restorable fileset without the need to select the backup source device. Using the slider, files are listed based on the range of time the backup has run.
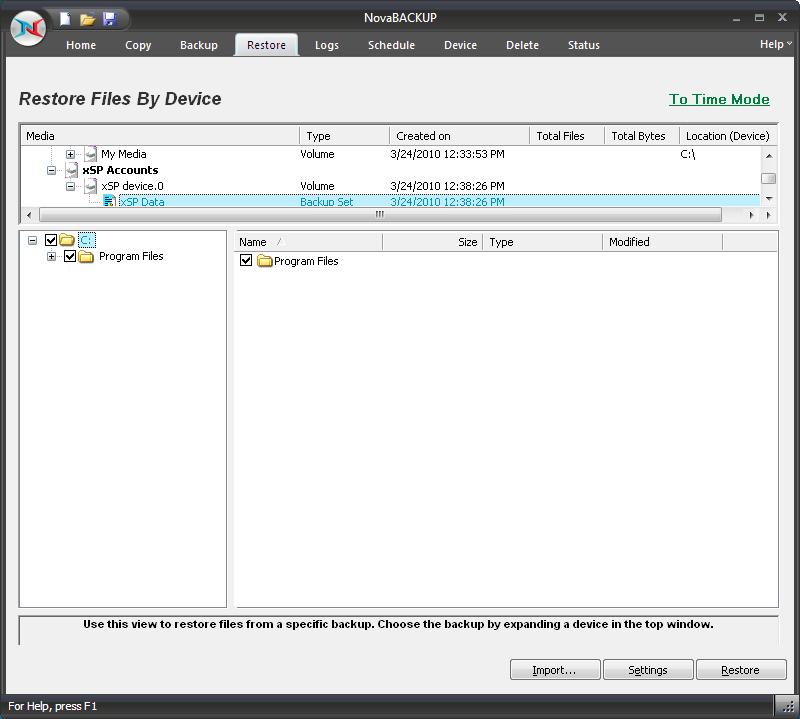
Restore Files By Device
This view displays a restorable fileset contained in a specific backup. Use the device view in the upper window to select the location of the backup and the backup session containing the files available to restore.

Why don't I see any media listed?
If you are unable to see anything populated in the media view, you might need to perform an import on the media which is explained below in the import section.
Select Backup Job
From the Media View in the top window, you will see a list of available backups that you can restore from. Simply select the backup you would like to restore by double-clicking the entry and a listing of the folder/files included in that backup will appear in the windows below.
The Media View - Restore Mode
This window allows you to view all available backups to restore from, based on the database of backup jobs and folder/file selections cataloged within the database. All backups are categorized by destination type (Disk, Removable Disk, CD/DVD, Internet, and Tape) and further categorized by backup job name. This view is similar to the Media View as seen in the Backup mode. However, only destinations with backups available for restoration will be listed.
Select Restore Item(s)
These
selection windows are similar to the ones seen on the Backup Tab. Here,
a listing of files and folders will be displayed once a backup job has
been selected for restoration. The only files and directories that will
be listed are the ones that were included in the backup job that you are
restoring. In the selection windows, you can select files and/or folders
just as you did in the Backup Tab when you selected the files for backup.

By default, if you are restoring files to their original location, files
that already exist in that location will not be overwritten by the files
that are to be restored. Check your Restore Setting to alter this.
"Import" Button
This button will allow you to import backup jobs that are not in the current NovaBACKUP database. Simply click on the button and browse to the backup job that you desire to import. Once imported into database, the backup job will then be listed in the media view, and available for restoration.
"Settings" Button
This button will allow you to access some options that you have in the restore process. These options are discussed in Restore Job Settings Topic.
"Restore" Button
Once you have selected the files, folders, or drives that you want to restore, you may press this button to start the restore immediately.

If you are restoring from a complete set of spanned media, you should always select the first piece of media as your first restoration media. NovaBACKUP will prompt you to insert each subsequent piece of media if necessary. You must have all media available to do the restore. If your backup consists of 5 pieces of media and media #3 is corrupt/missing/damaged, you will only be able to restore data from the first two pieces of media.